
Create Your Own Designer Toy : Creation Joy Boy
1. Concept & Design
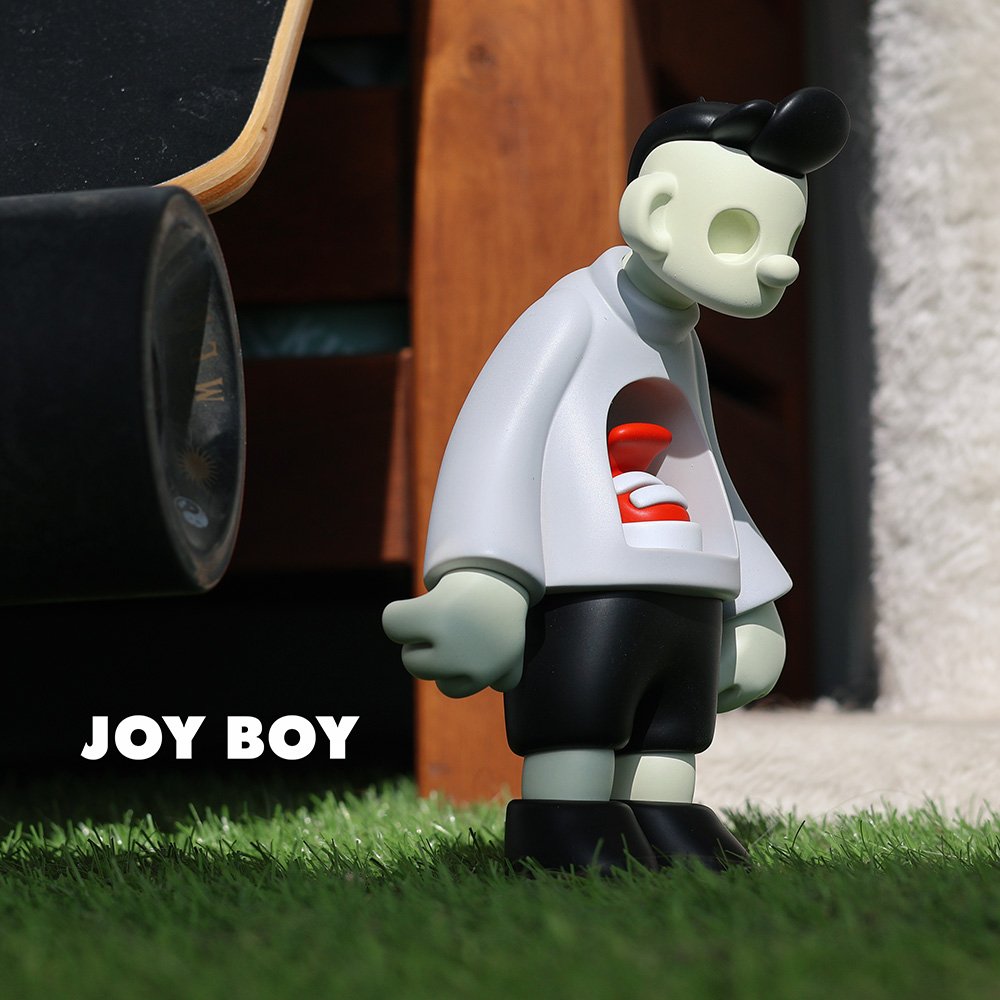
The design process for Joy Boy starts with a lot of back-and-forth, sketching different ideas and refining the look and feel until it’s just right. I focus on the character’s expression, proportions, and details, ensuring everything works together to give Joy Boy a distinct personality. Every element, from the pose to the intricate features, must harmonize to create a collectible piece with emotional depth.Beyond aesthetics, the design explores the idea of the void—those moments of emptiness we all feel. Joy Boy represents the tangible, material side of coping with the void, much like how we fill gaps in our lives with possessions.

Design Process of joy boy
2. 3D Printing
Once the design is set, I move on to 3D printing. This stage allows me to test the scale and proportions of the figure in real life. A small-scale model is printed, and I evaluate whether the dimensions and details hold up as a physical object. If something feels off, it’s back to the drawing board. Testing the figure's size ensures that every element, from the smallest detail to the overall structure, is perfect before proceeding.

Art toy scale check
3. Breaking into Parts
After the scale is approved, I break the figure down into individual parts. This step is crucial because each part corresponds to a different color or material. Breaking down the design helps in creating clean, crisp color separations and easier assembly later on. The parts must fit together precisely, so I take extra care to ensure that every section can be cast and painted separately without compromising the figure’s final look.

Keying of figure
4. Painting
With the parts cast and cleaned, it’s time for painting. I apply multiple coats of paint to each part. I focus on color accuracy and smooth finishes, layering the paint carefully to ensure even coverage. Depending on the design, I may add shading or highlights to give the figure more depth. Painting is where Joy Boy truly starts to come to life.

Painting setup
5. Assembling
Finally, after all the parts are painted, I assemble them using high-quality glue. Each piece is carefully fitted together, ensuring that the joints are secure and the figure is stable. The assembly process requires precision, as the alignment of each part affects the overall look of the toy. Once assembled, Joy Boy is ready to be packaged and enjoyed, representing the culmination of weeks of hard work and attention to detail.

Assembling Parts
Thank you for reading !