
Toy Design Journal: Bringing Miss Bliss to Life
After months of hard work, we're finally ready: production of Miss Bliss is complete and ready to go! Pre-orders are steadily being shipped out from our studio and the official launch is on 30 Sep 2024.
Throughout this journey, we've had the chance to connect with so many wonderful people across the world who shared their love for our designs and concept. To those of you who are curious about our art toy-making process, here's a guide into our design and production process behind Miss Bliss.

Exploring the different design concepts for Miss Bliss
Step 1: Concept is King
The difference between a good design and a great design is intent. While we already have a strong core concept for this series, it's important to understand what we are trying to embody with Miss Bliss - the urge to escape from reality as a means to recharge.

Breaking down the figure into individual parts to prepare for production
Step 2: Shapely Silhouette
With a clear motivation, we narrowed down visual elements that symbolizes escapism, then narrowed it down further by letting our audience pick which design they resonated with the most, emotionally and aesthetically.
Another important factor is to make sure your design makes sense from a production standpoint - how will these parts come together to achieve visual appeal and structural integrity?

3D printing the Miss Bliss prototype
Step 3: Prototyping Perfection
Once preparations are ready, it's time to 3D print the parts using our trusty Elegoo Saturn 2. Prototyping helps make sure that the toy's size, weight and dimensions work well in real-world. It also lets us spot any potential weakness and to strengthen the design.

Sanding and priming the individual pieces for best results
Step 4. Sand Down, Prime Up
Now that the design work is complete, the next step is to sand the pieces to remove imperfections. Sanding helps to achieve a polished, even surface. Primer is then applied to ensure that each piece is smooth, clean and consistent.
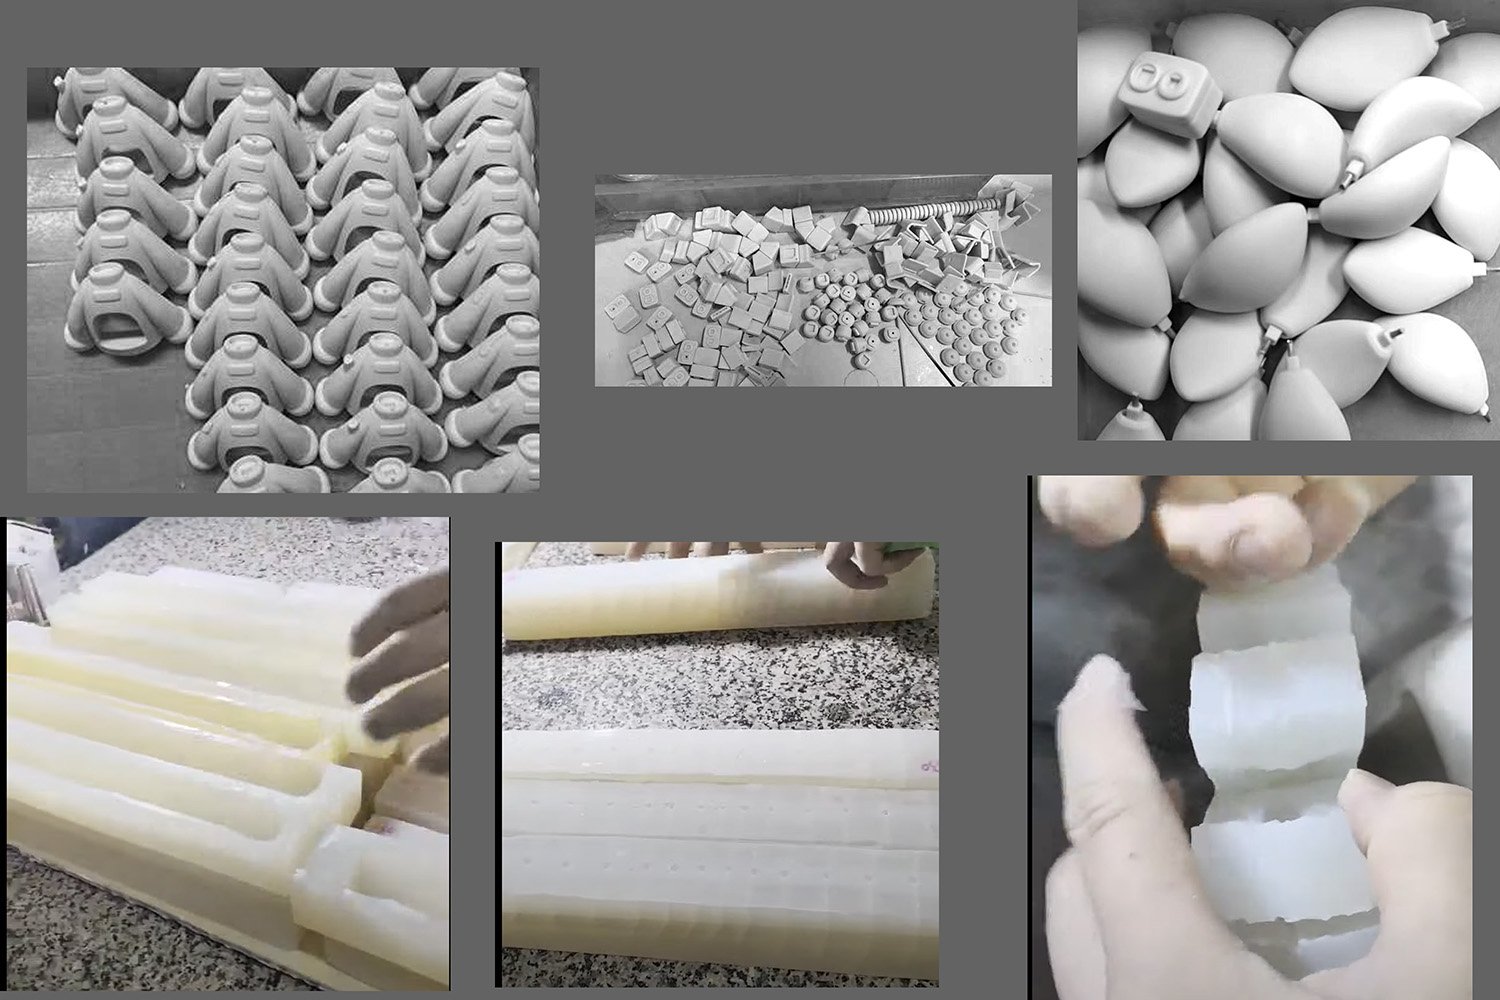
Creating individual silicon molds for casting
Step 5. Mastering the Mold
The pieces fit perfectly and the surface is primed - we're now ready to do casting. A silicon mold is made from the 'seeds' to create precise replicas of the individual pieces. Once the molds are complete, production kicks into high gear as we use a combination of resin and hardener to cast the pieces. Since these are copies of the 'seeds', each cast requires minimal sanding and priming.

Being extra careful when doing paintwork
Step 6. Painting Magic
Painting brings life to the figure. Each part is painted in layers, building depth and enhancing the design. Careful attention is given to prop up the pieces in hidden areas so as not to affect the final paint job. Miss Bliss required multiple coats and precise detailing to ensure the color palette was vibrant and true to the concept.

Assembling all the pieces to achieve the final look
Step 7. Final Form
Once painted, each piece is carefully assembled. This stage requires precision to ensure that all parts fit seamlessly together with the perfect amount of adhesive. The final assembly showcases the full vision of the character, bringing our latest designer art toy to life.

Making sure the important details are all captured in the final packaging design
Step 8. Up Your Packaging Game
Thoughtful packaging elevates the entire experience. It's important to look at it from the collector's perspective when designing the packaging - how do you give the best visual treat to your audience, and what will the unboxing experience be like? Would it catch your attention if it was on a shelf?
Creating designer art toys is a long and intricate process that requires tons of planning, attention to detail, creativity and grit. It is also one of the most rewarding and meaningful journeys we have undertaken creatively. We hope our sharing helps you on your journey!
Miss Bliss comes in two unique colourways: ‘The OG’, and ‘Retro’. It features magnetic copiums for added customizability. Learn more about the concept and explore our range of designer toys and fine art prints today.